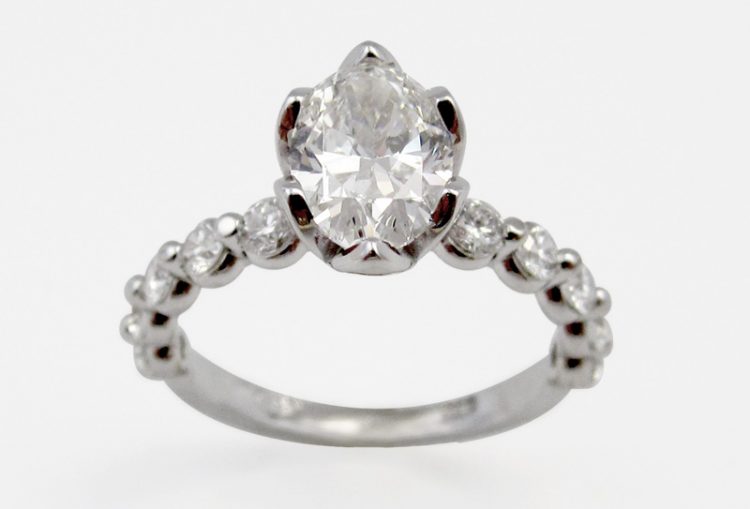
Custom Oval Tulip Ring

Custom Criss Cross Ring
August 5, 2016
Shelby & Jose
May 18, 2017Custom Oval Tulip Ring

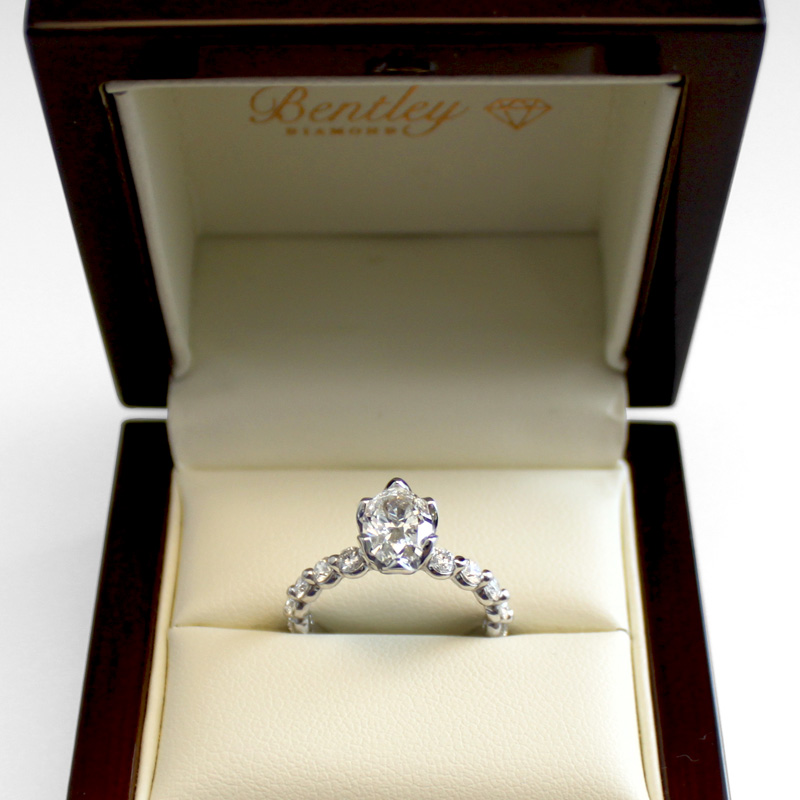
At Bentley Diamond we are love creating custom engagement rings for our customers. There is nothing more rewarding than collaborating with a customer to create such an important piece that our clients will treasure always. So when Lyndsey & Pat came in and shared their vision for an engagement ring, we couldn't wait to get started!
Sketch
When Lyndsey and Pat came into Bentley Diamond they had a vision of what they were looking for in their engagement ring and multiple references to illustrate their idea. They met with Shelley, one of our experienced sales associates, to discuss their vision.
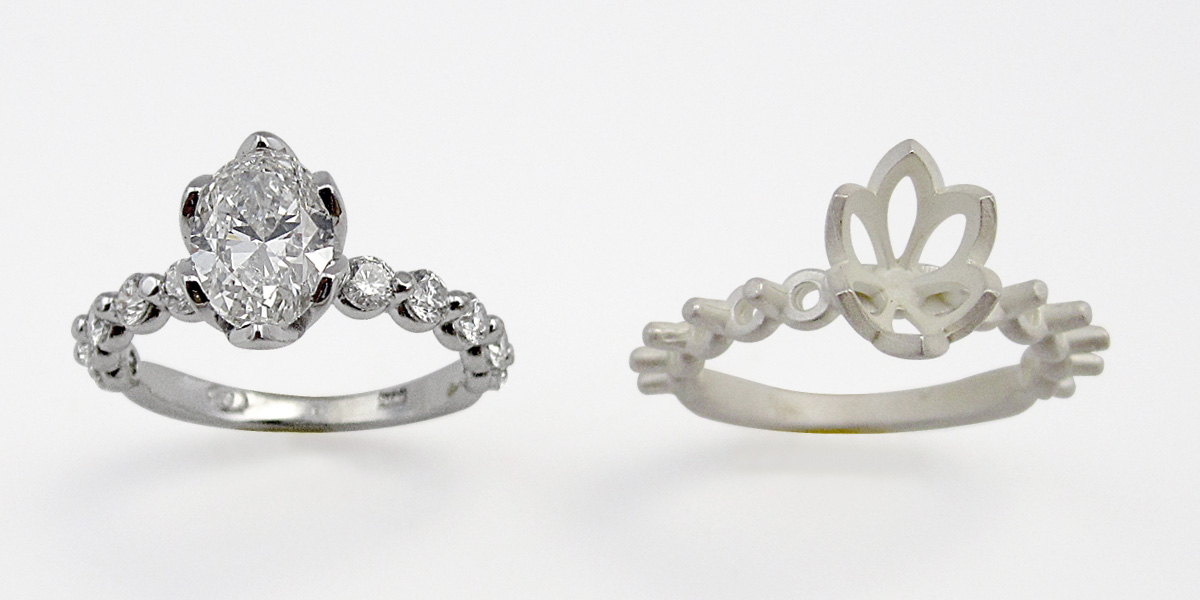
The first step in our custom engagement design process is to begin visualizing the design. It begins with the initial conversation which then transitions into creating the scaled sketches that always include the specifications of the materials that are to be included in the piece. During this creative process Lyndsey and Pat communicated their desire for a custom tulip setting that would fit an oval diamond centerstone instead of the round stone that is more commonly found placed in this type of custom setting. Lyndsey also expressed her desire for a little space between each stone on the shank and Shelley began creating solutions for this band.
Tony, our resident custom jewelry designer joined the conversation to begin addressing the need for this custom setting to be practical, secure and fashionable. Our team was clear about Lyndsey and Pat's vision as well as the challenges and solutions that would need to be addressed to create this beautiful and unique engagement ring.
Renderings

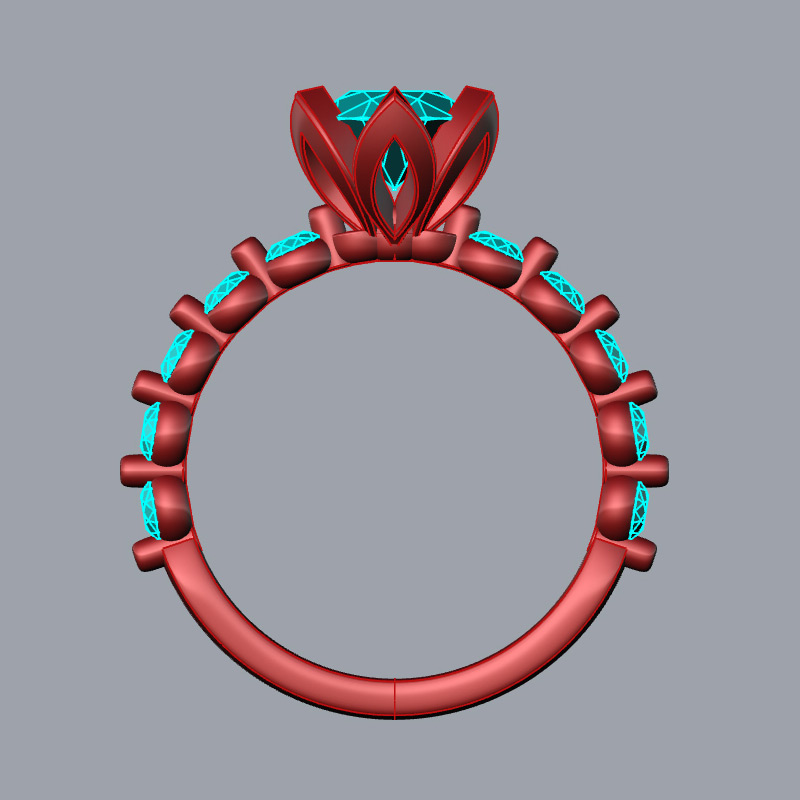
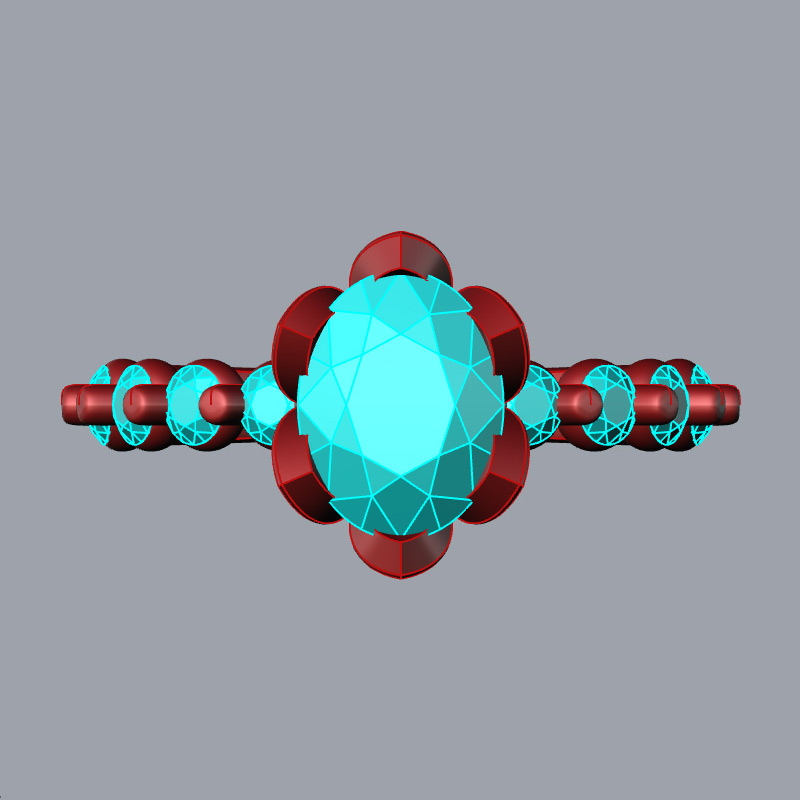
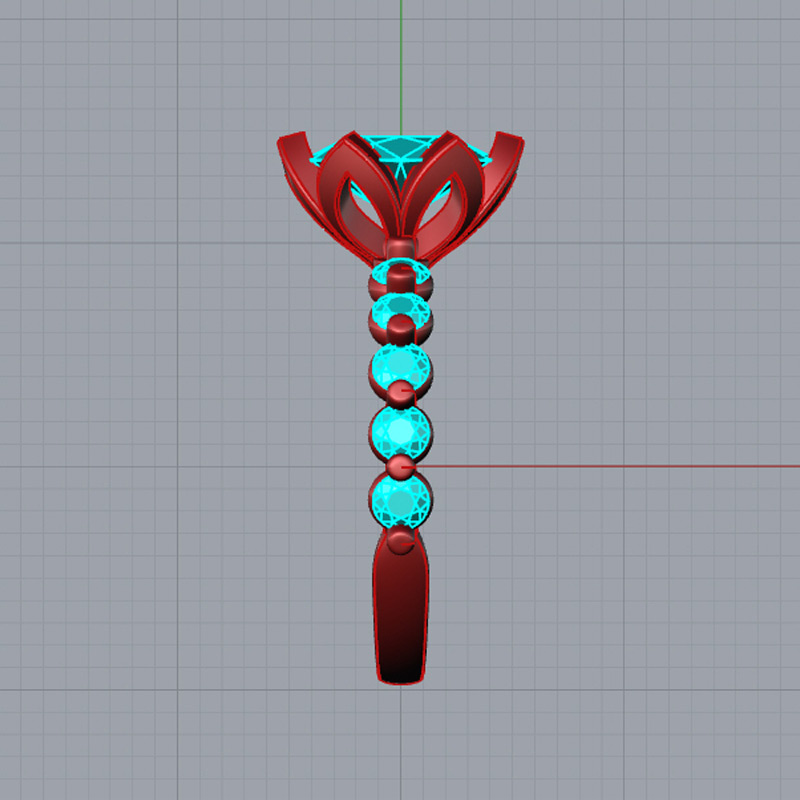
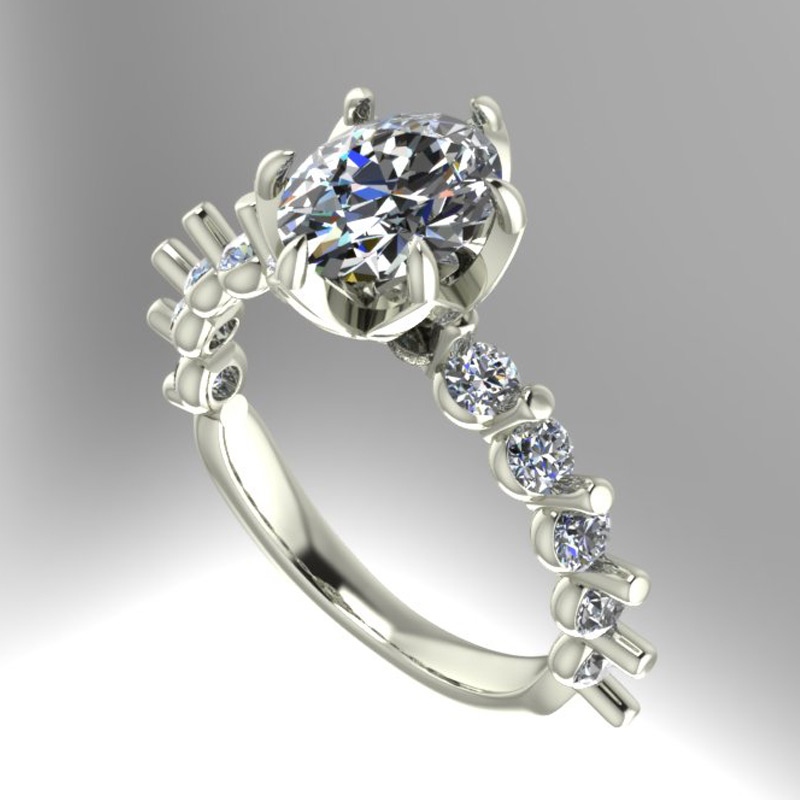
Now that the vision for the engagement ring design had been shared, and sketches created, the next step was to create the Computer Aided Design renderings of the jewelry (or CAD). Bentley Diamond's CAD renderings translated the sketched design concept into 3D models which allowed us to create multiple perspectives and visualization of the design in order to explore and examine every facet of the designed piece for review, feedback, and any minor adjustments, as needed. These renderings were presented to Lyndsey & Pat for review and based on their feedback we moved to the next step in the process, creating a wax model of the ring.
3D Resin Printed Model
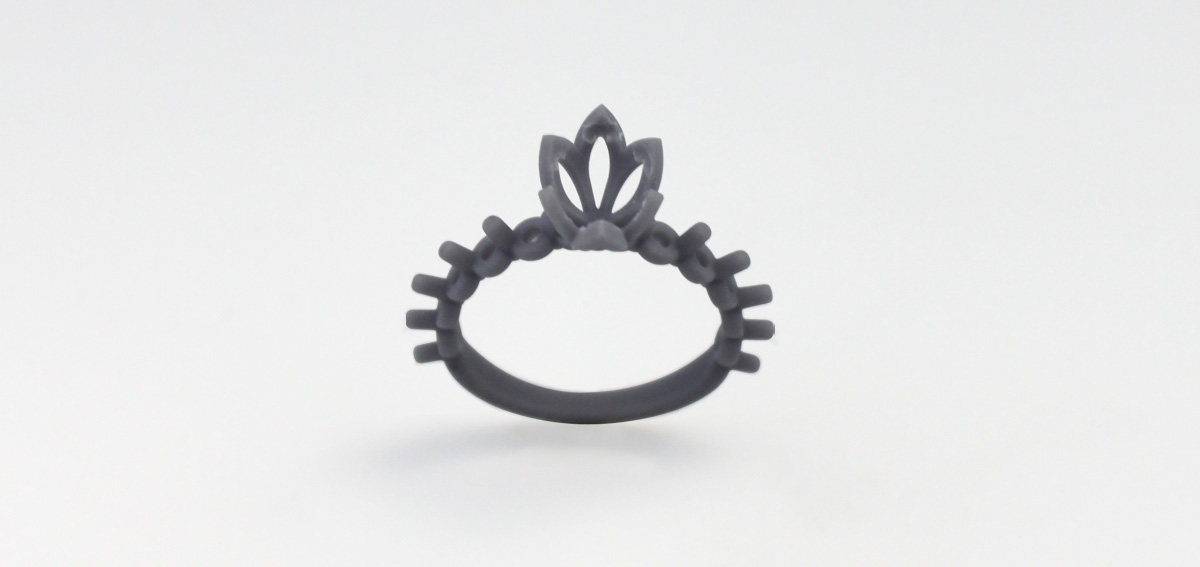
After the 3D renderings of the CAD had been reviewed, adjusted, and the physical shape and vision the design had been realized and approved by the customer, we moved to the next step in the Custom Design process, creating a 3D printed resin prototype model of the ring. The resin model offers a tangible representation of the ring and from this 3D model the final piece was casted into 14 karat white gold metal through the lost wax casting process.
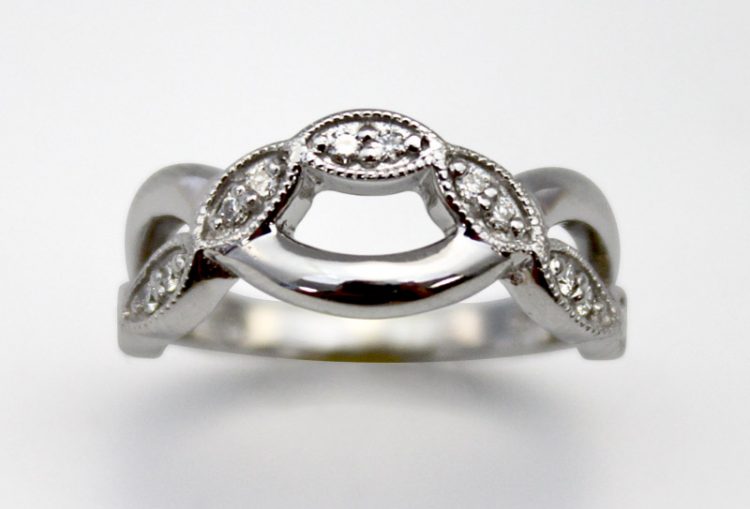
At this juncture, we are ready to proceed to finishing the final metal piece. Daria at Bentley Diamond sorted the diamonds together and handed the items over to Tony and David at the workshop in order for them to pre-finish the custom criss cross ring and to prepare it for the setting of the diamonds.
Finished Piece

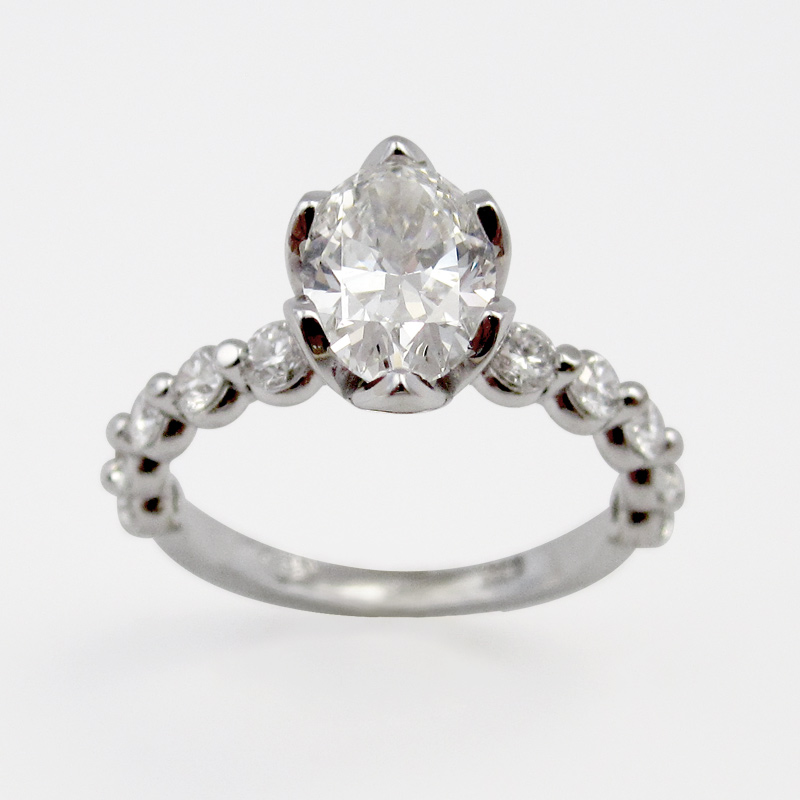
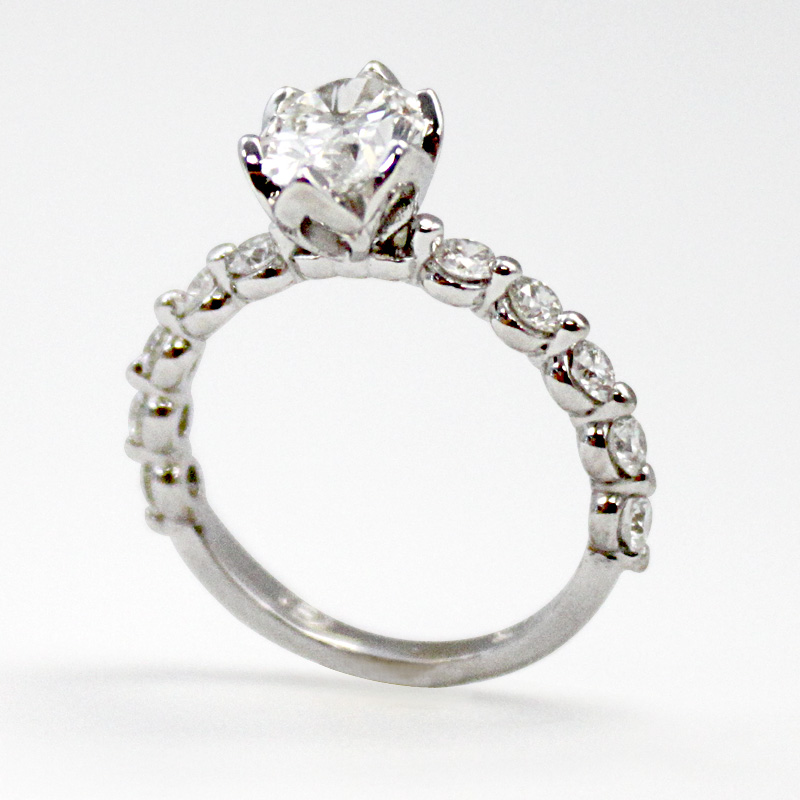
In the final stage of the custom design process, Tony and David work together to make Lyndsey & Pat's vision a reality. Using their vast professional expertise in gold smithing and diamond setting they created a beautiful piece, paying very close attention to every detail. During this final stage, Tony had pre-finished the designed ring, and our seasoned Diamond Setter, David, jumped in to set the diamonds. Once the ring was completed, we got to enjoy one of our favorite parts of the entire process, presenting the finished custom piece to the customer!

